What is tscircuit?
tscircuit is an open-source React/Typescript electronics toolchain and ecosystem for creating, previewing, simulating and manufacturing Printed Circuit Boards (PCBs).
React and Typescript are standard tools that revolutionized the web development ecosystem. tscircuit combines the powerful static analysis of Typescript with the modular component system of React to make developing electronics faster, easier and more automated. To generate tscircuit with AI chat, check out our AI context
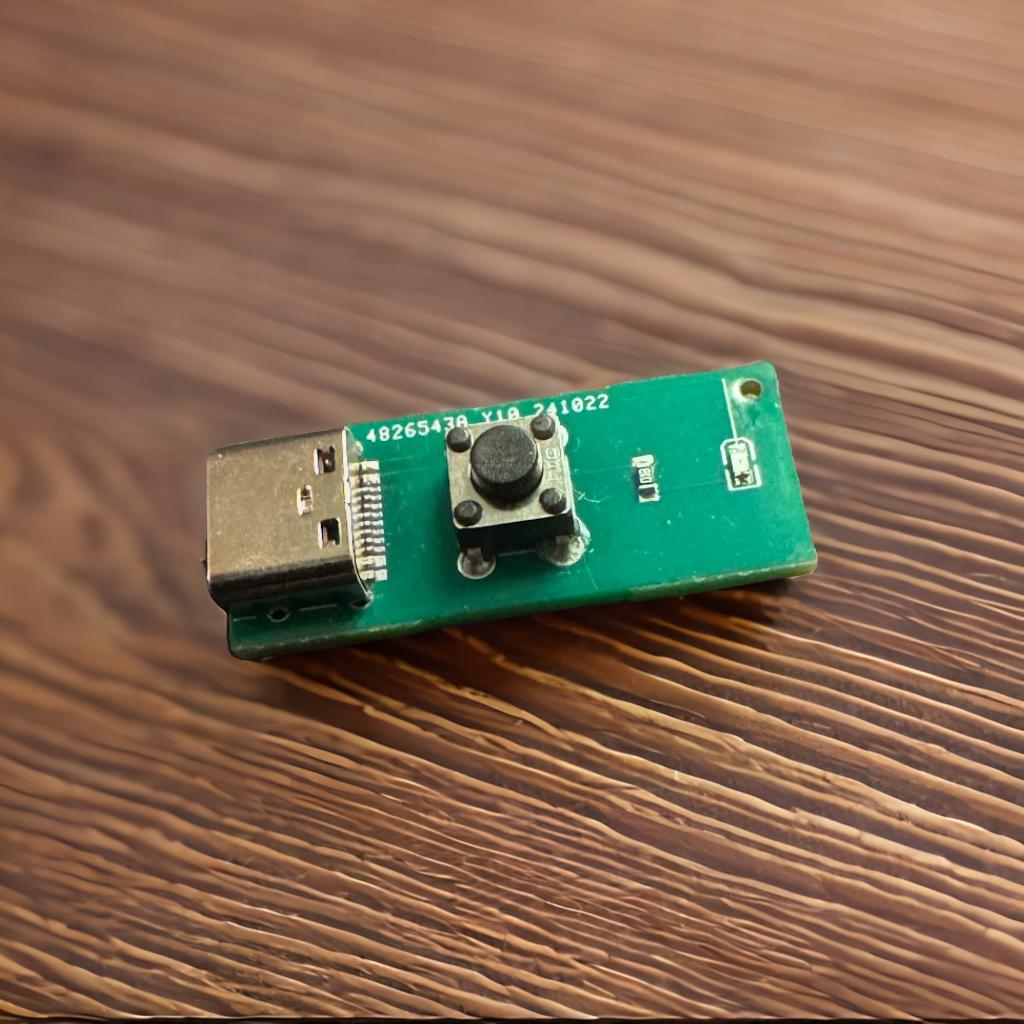
Here's an example of a basic tscircuit electronic device, it's the USB flashlight that we make in this tutorial.
import { PushButton } from "@tsci/seveibar.push-button"
import { SmdUsbC } from "@tsci/seveibar.smd-usb-c"

export default () => {
return (
  <board width="12mm" height="30mm">
    <SmdUsbC
      name="J1"
      connections={{
        GND1: "net.GND",
        GND2: "net.GND",
        VBUS1: "net.VBUS",
        VBUS2: "net.VBUS",
      }}
      pcbY={-10.5}
    />
    <led
      name="LED"
      supplierPartNumbers={{
        jlcpcb: ["965799"],
      }}
      color="red"
      footprint="0603"
      pcbY={12}
    />
    <pushbutton
      name="SW1"
      pcbRotation="90deg"
      footprint="pushbutton_id1.3mm_od2mm"
      connections={{ pin1: ".R1 > .pos", pin2: "net.VBUS" }}
      supplierPartNumbers={{
        jlcpcb: ["C110153"],
      }}
    />
    <resistor name="R1" footprint="0603" resistance="1k" pcbY={7} />

    <trace from="R1.neg" to="LED.pos" />
    <trace from="LED.neg" to="net.GND" />
  </board>
)
}
This small snippet of code helps demonstrate the power of tscircuit. From those 40 lines, we were able to create a full PCB, Schematic and 3D preview. Not only that, but we can export this circuit to Fabrication Files and get it fabricated and assembled. In fact we did!
It may not seem like much, but tscircuit just handled a lot of work for us!
- Automatic Part Selection and Bill of Materials Generation
- Autorouting
- Schematic and PCB Layout
- 3D Model Generation
- Fabrication File Generation
...and it ran completely in our browser!
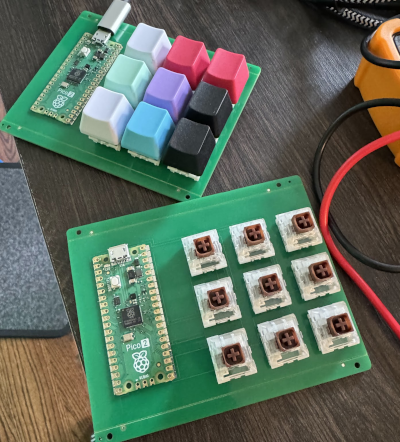
tscircuit isn't limited to simple circuits like this. You can keep adding elements, creating modules and combining them to create more and more complex circuits. Here's an example of a simple 3x3 macrokeypad based on the PICO2!
We ordered this one too!
Depending on your experience level with electronics, you may want to get started with any of the following resources: